
Quick Answer: How to Paint Wine Glasses
Follow these five steps to paint wine glasses at home:
- Choose your glass. Start with a smooth, clean surface. Aequilibrium wine glasses (from $42.99), made from 100% lead-free crystal offer a premium canvas for your design. The pivoting base can make it easier to rotate the glass as you paint curved lines and detailed designs.
- Prep the glass. Wash and dry it thoroughly, then wipe the painting area with rubbing alcohol to remove oils and residue.
- Choose the right paint. Use acrylic enamel or dedicated glass paint, not standard acrylic without a suitable medium.
- Paint and cure. Apply two thin coats, letting each dry fully before the next. Air-cure for 21 days, or oven-cure according to the paint manufacturer's instructions.
- Care for your design. Hand-wash painted glasses gently to help preserve your artwork.
Aequilibrium: the perfect canvas for your project.
Start With a Glass Worth Painting
Handcrafted crystal with a clean, even surface — the ideal canvas for glass painting.
Shop the Aequilibrium Wine GlassWhat You Need To Paint Wine Glasses
Painting wine glasses does not require a lot of supplies. Most of what you need is available at any craft store or online.
Start With a Glass Worth Painting
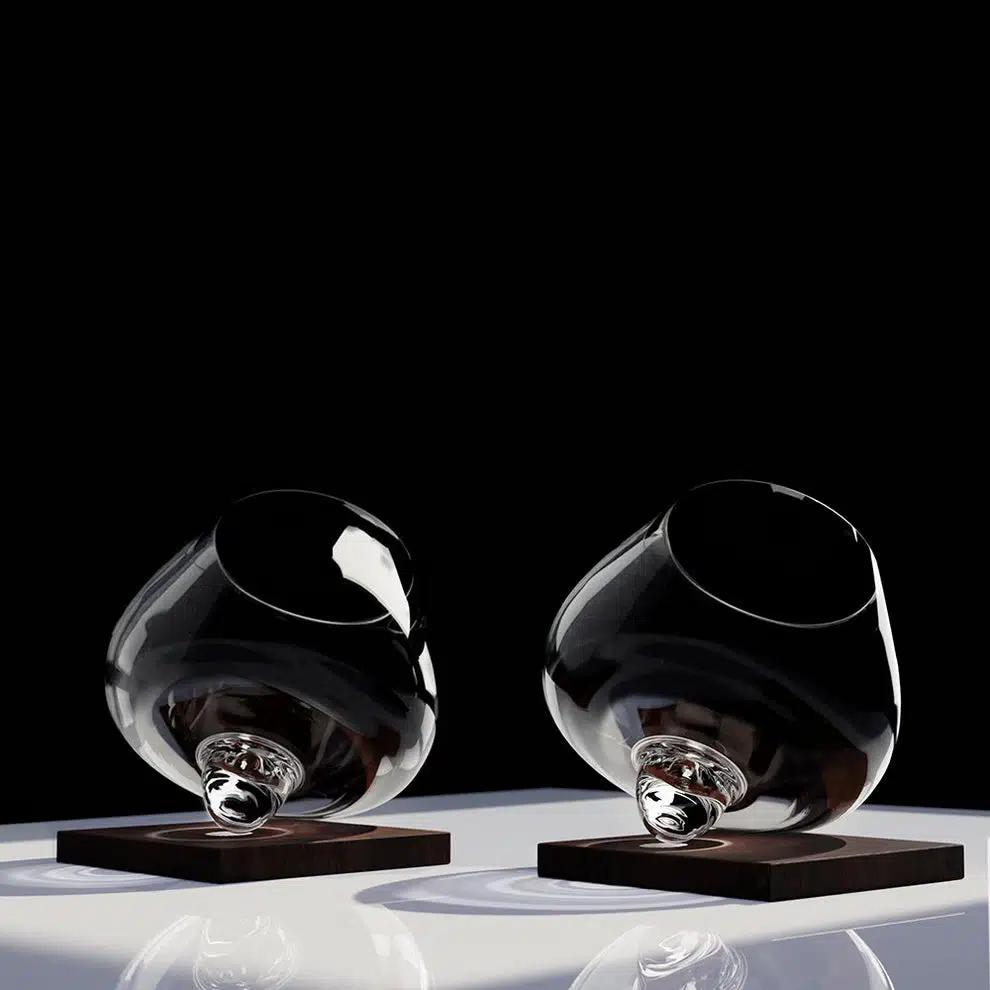
Before you pick up a paintbrush, choose the right glass. A smooth, well-made glass gives you a cleaner surface to work on and helps your finished design look more polished.
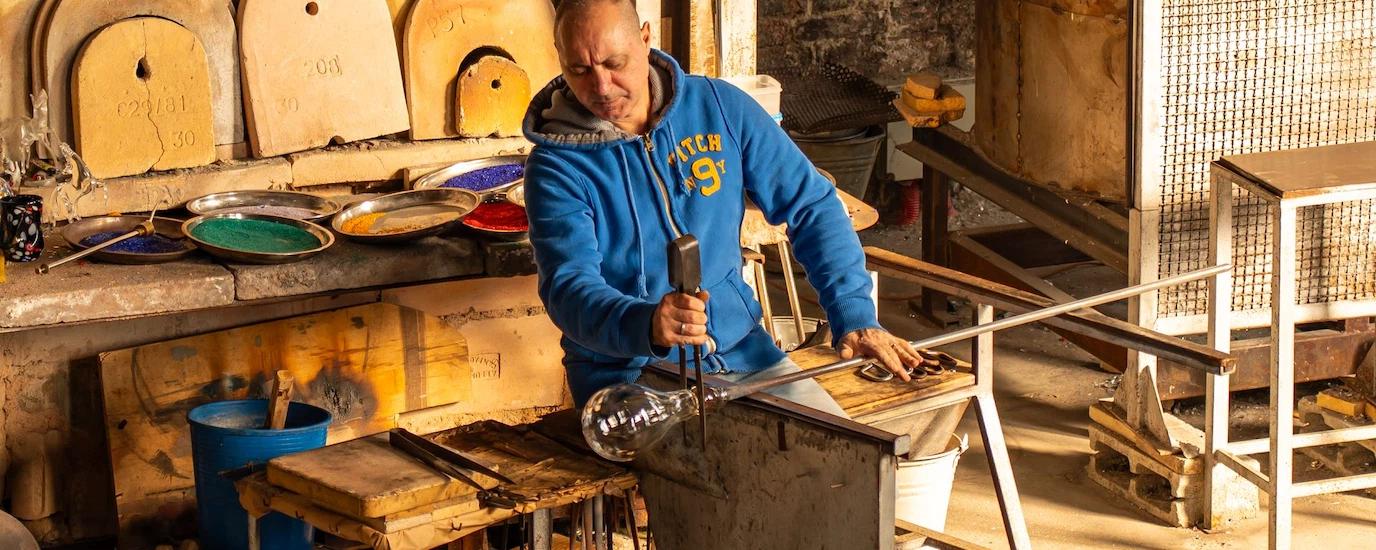
For beginners, the Aequilibrium Wine Glass offers an especially interesting canvas. Each stemless glass is hand-blown from 100% lead-free crystal and features a 360° pivoting base.
That distinctive base lets you gently rotate the glass as you work, which can make painting curved lines, bands, lettering, and other designs easier to control.
And there’s another reason to start with a glass worth keeping: once your design is cured, you’ll want the glass itself to be something you enjoy using.
Also read: Wine Glass Types: A Complete Guide to Every Style
A Glass Worth Talking About
-
Red WineRegular price From $42.99 USDRegular priceUnit price per
$86.00 USDSale price From $42.99 USDSale -
Spirits & LiquorsRegular price From $39.99 USDRegular priceUnit price per
$80.00 USDSale price From $39.99 USDSale -
UniversalRegular price From $42.99 USDRegular priceUnit price per
$86.00 USDSale price From $42.99 USDSale -
Spirits & Red WineRegular price From $110.00 USDRegular priceUnit price per


Excellent quality, quirky design. Never seen anything like them before.
Paint
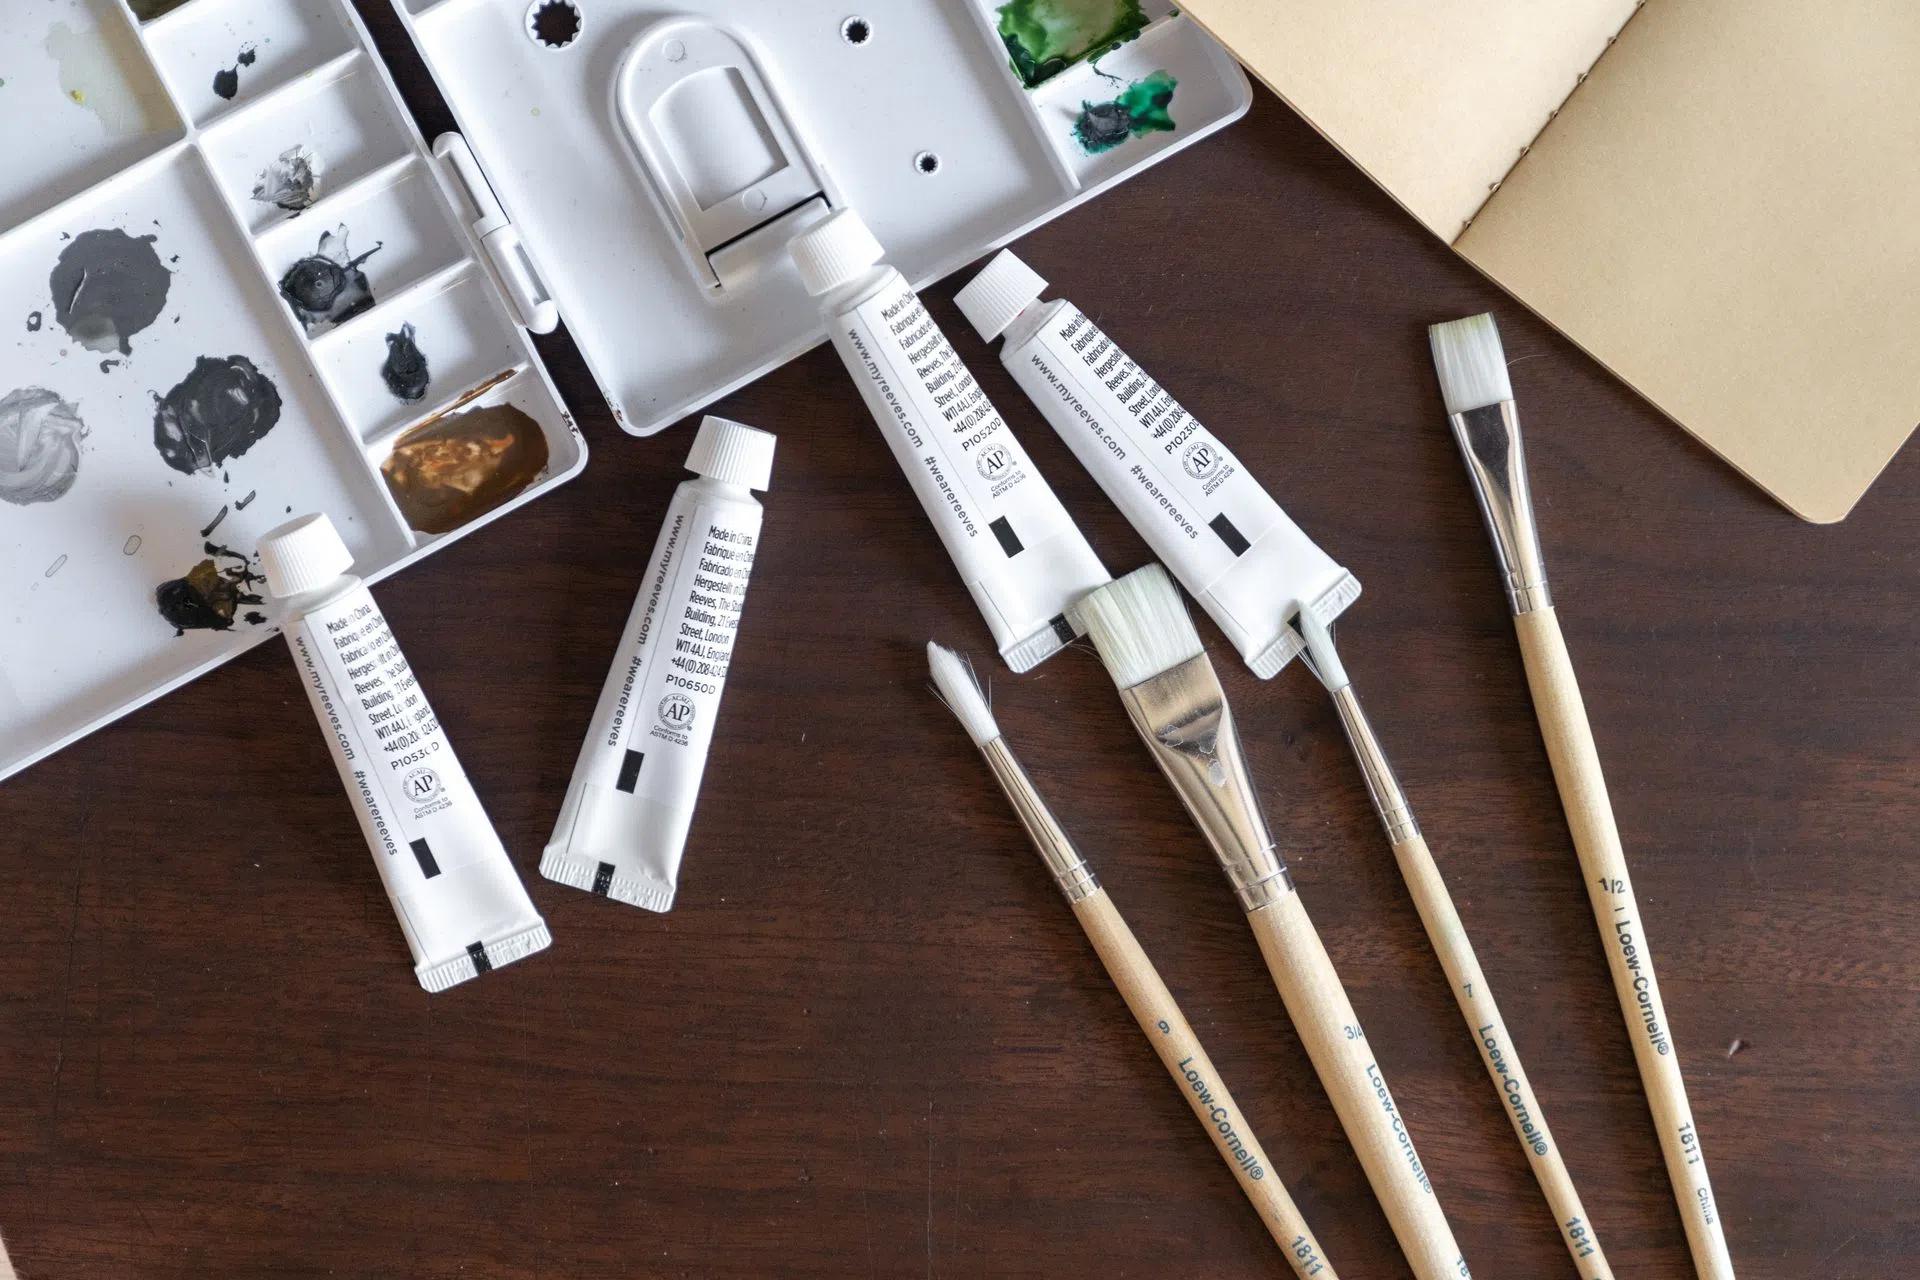
This is your most important choice. Acrylic enamel, such as DecoArt Americana Multi-Surface Satin, is the most beginner-friendly option. It bonds to non-porous surfaces, comes in a wide range of colors, and cures hard after oven curing.
Dedicated glass paint works the same way. Standard craft acrylics are not formulated for glass and will peel without an enamel medium added.
Brushes
A small set covers most designs. A liner brush for fine lines and detail work, a flat brush for coverage and color bands, and a round brush for general shapes will do.
Q-tips are a perfectly valid tool for dots and polka-dot patterns.
Rubbing Alcohol
This is essential for cleaning the glass surface before you pick up a brush. White vinegar works as an effective substitute.
Optional Tools
- Painter's tape for crisp lines and borders
- Pencil eraser or wooden dowel ends for uniform dots
- Adhesive stencils for consistent beginner designs
- A palette or small plastic cups for paint
- Paper towels and cotton swabs for quick corrections
How To Prepare Wine Glasses for Painting
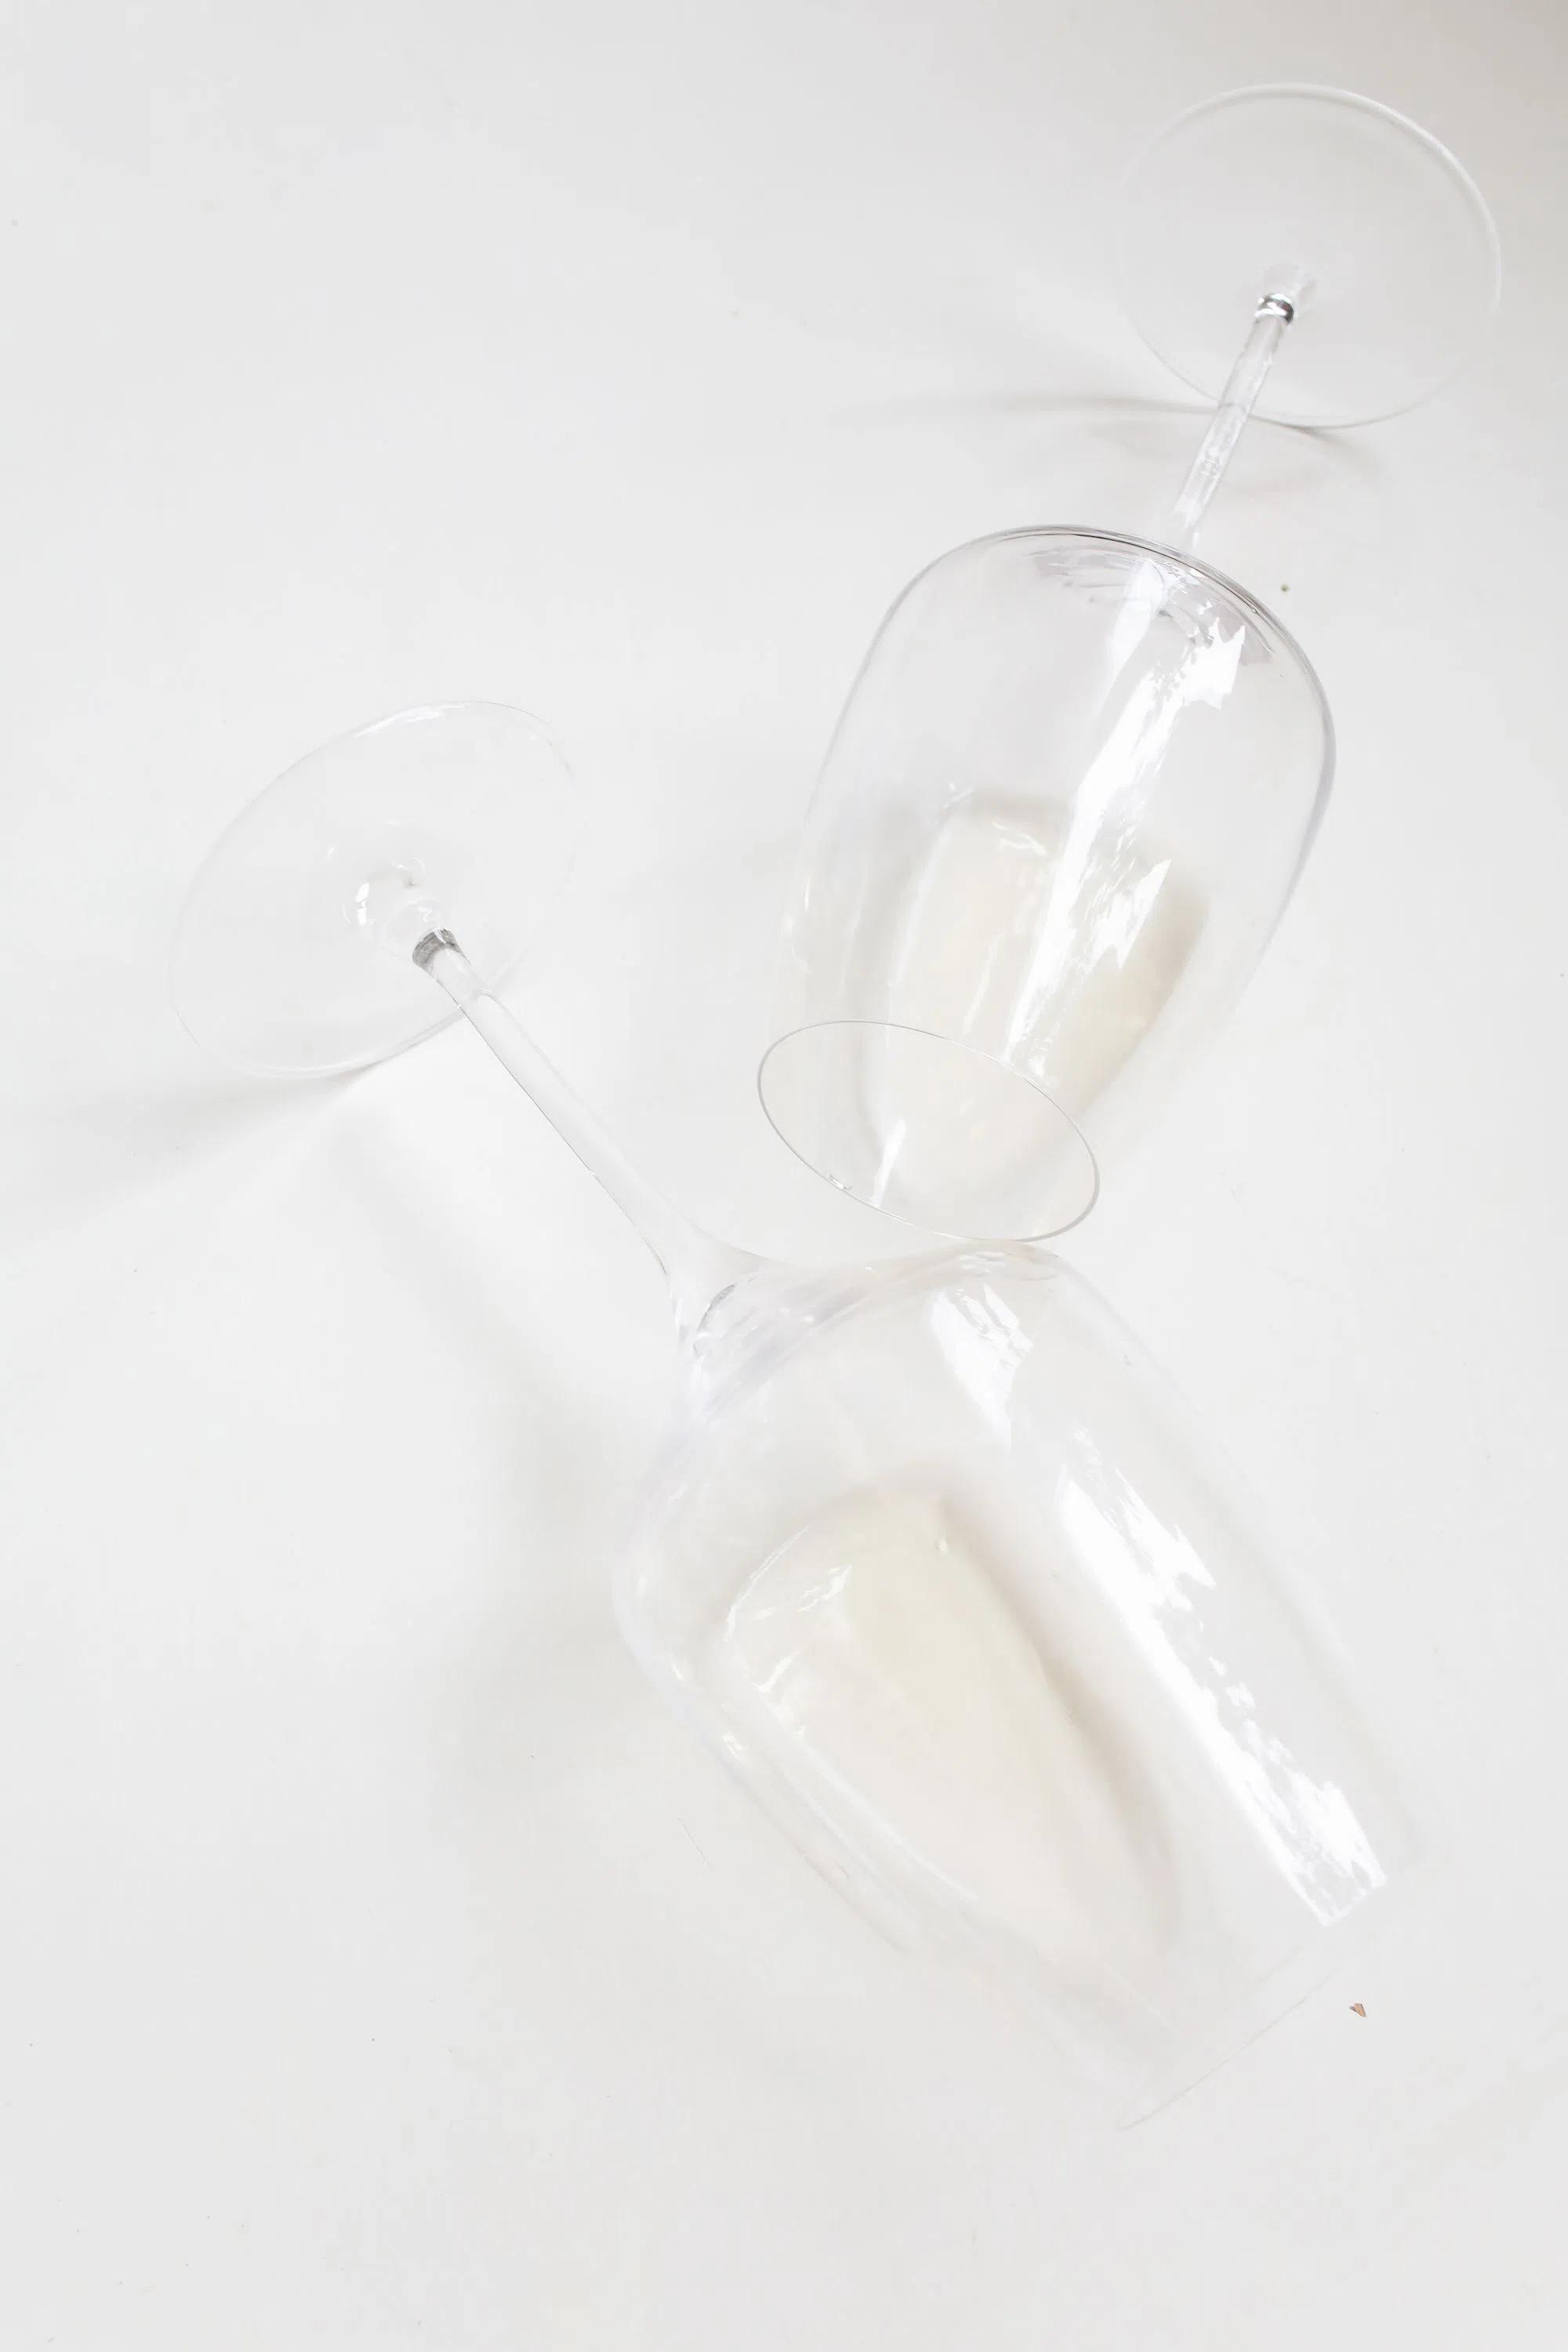
Preparation is the most skipped step in glass painting, and the main reason painted glasses fail. Run through these four steps before you pick up a brush.
Step 1. Wash the Glass
Wash each glass with warm, soapy water. Rinse thoroughly and allow it to air-dry completely. Any moisture left on the surface prevents proper adhesion.
Step 2. Wipe With Rubbing Alcohol
Once dry, wipe the entire painting surface with a lint-free cloth dampened with rubbing alcohol. Doing so removes oils, fingerprints, and residue that stop paint from bonding. Let the surface dry fully before moving on.
Step 3. Tape off the Rim
Keep paint at least half an inch below the drinking rim, which is a food-contact area. A strip of painter's tape marks a clean line and prevents accidental strokes near the top. This matters most when you apply backgrounds or ombré effects that cover a large area.
Step 4. Plan Your Design First
Sketch or print your design before sitting down with the glass. Beginners who decide as they go tend to overpaint and lose confidence. A clear plan, even a rough pencil sketch on paper, makes the process more enjoyable and the result more intentional.
How To Paint Wine Glasses: Step by Step
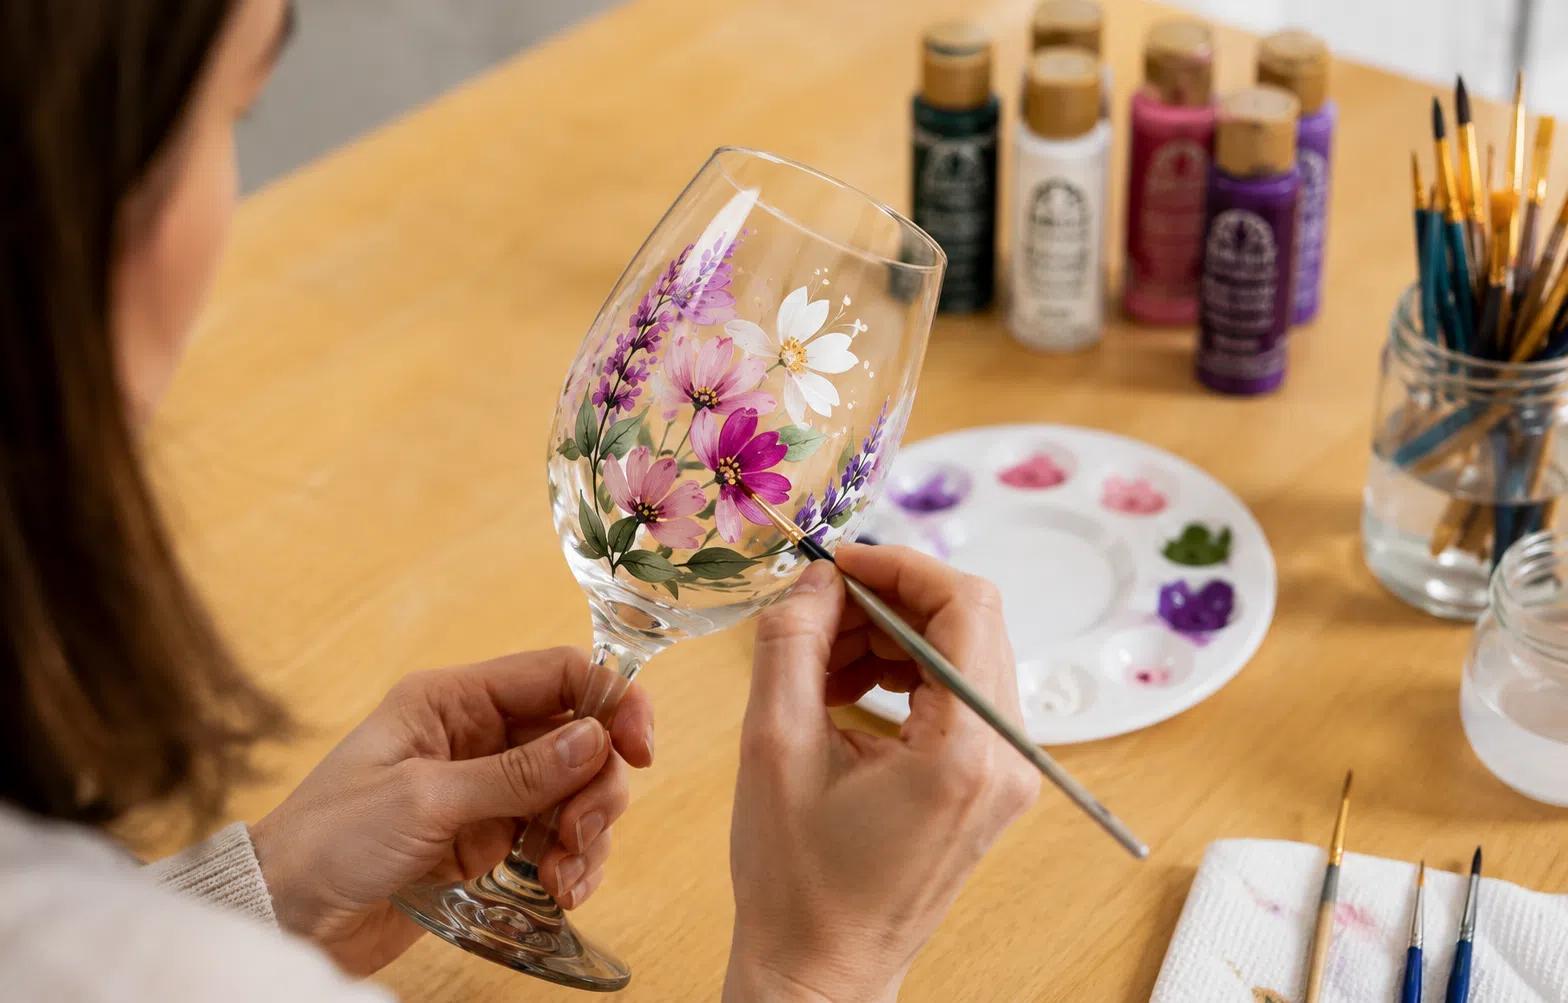
With your wine glass clean and prepped, you are ready to paint.
Step 1. Apply a Base Color (If Your Design Needs One)
Not every design needs a background. Simple florals, dots, and monograms work directly on clear glass.
If your design calls for a background (a color band, an ombré fade, or a solid fill), apply that layer first. Use a flat brush for even coverage. Two thin coats produce a better result than one thick coat.
Step 2. Paint Your Main Design
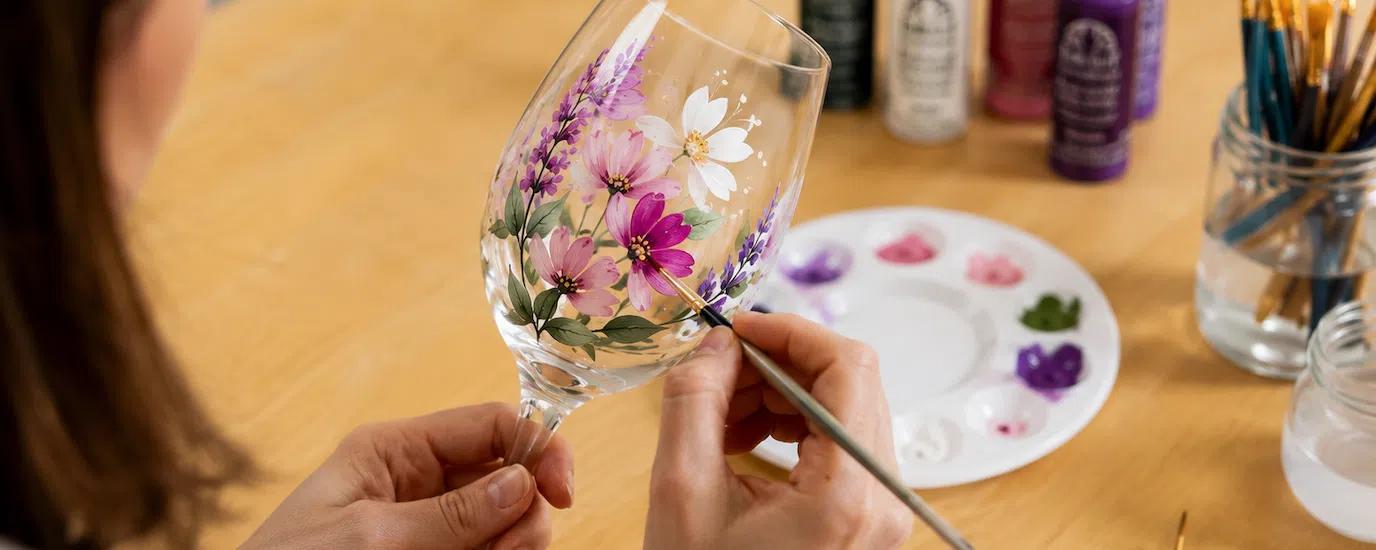
Work from large shapes down to fine detail. For polka dots, dip the eraser end of a pencil into paint and press gently onto the glass. For florals, block in petals with a round brush, then add veining and detail with a liner brush.
For monograms, place a printed letter face-in against the inside of the bowl. Trace the shape from the outside with a paint pen or fine liner.
Step 3. Let Each Layer Dry Fully
Before adding a second coat or detail work, wait for the layer underneath to dry completely. Rushing causes the first coat to lift and produces a gloppy, uneven surface. Thin layers dry faster and give crisper results.
Step 4. Fix Mistakes While Paint Is Fresh
Wet paint is easy to remove. A slightly damp cotton swab lifts a smudge or stray brushstroke cleanly.
Once paint dries, corrections become more difficult and may require rubbing alcohol to remove fully.
Step 5. Allow To Dry Before Curing
Set painted glasses aside on a flat surface for at least four hours before curing. Keep the painted surface face up and avoid stacking glasses.
The Best Paint for Wine Glasses
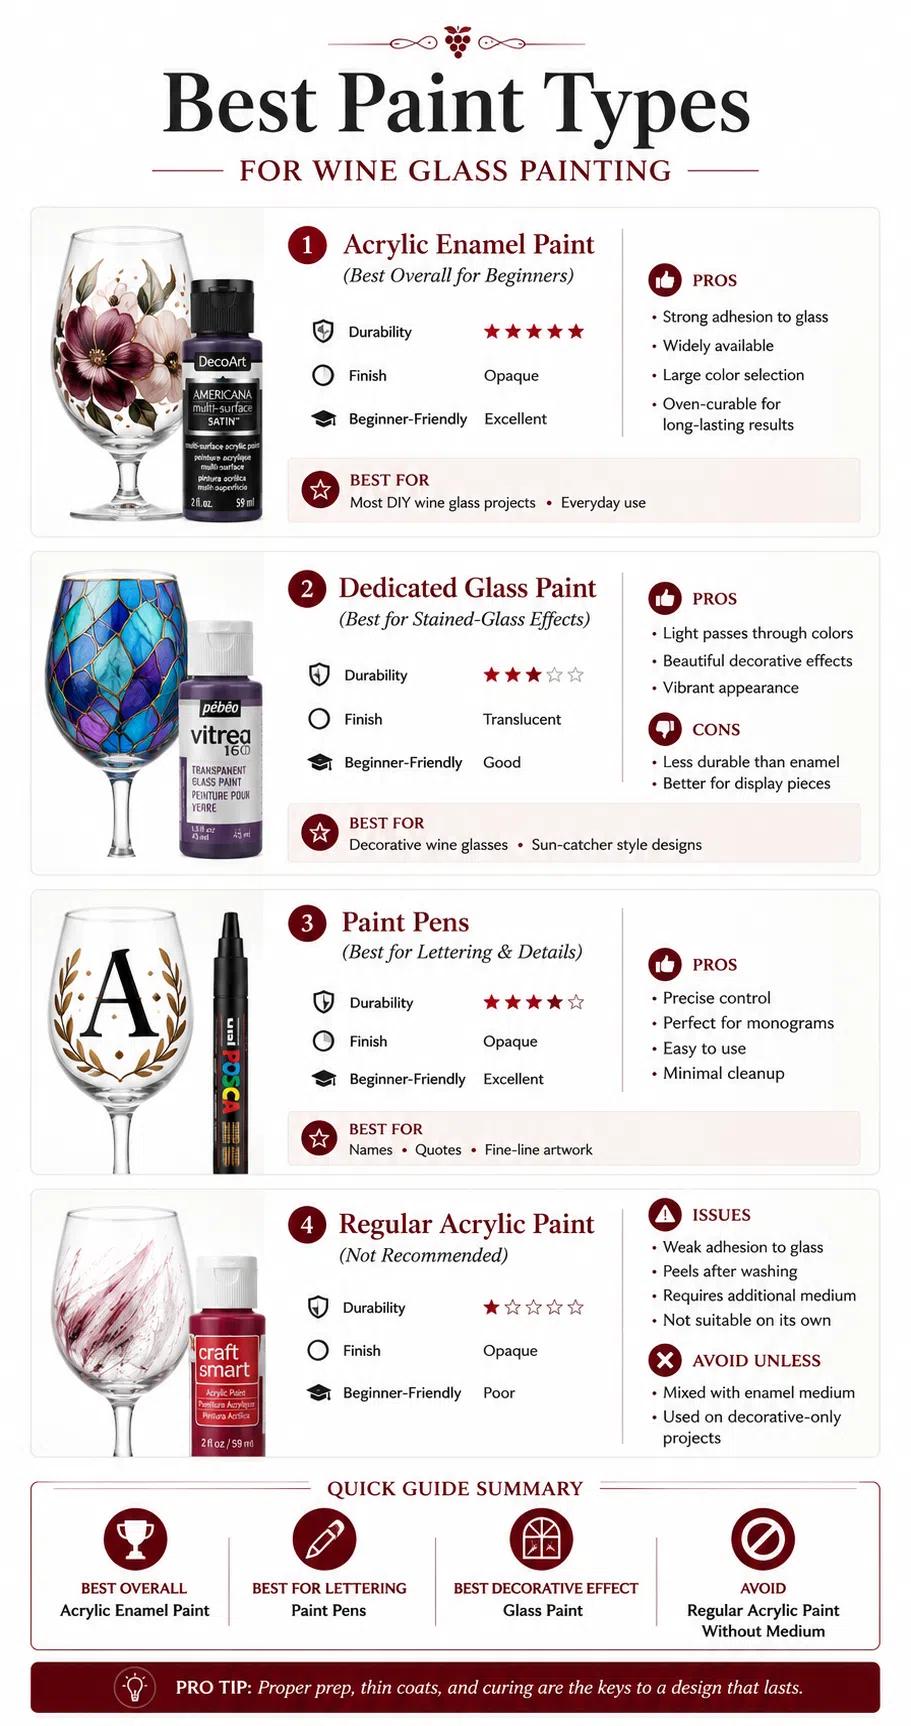
The right paint makes the difference between a finish that lasts and one that flakes after the first wash. It helps to know what to choose and what to avoid.
Acrylic Enamel Paint
This is the best all-around choice for beginners. DecoArt Americana Multi-Surface Satin and Folk Art Multi-Surface are both formulated for non-porous surfaces including glass. They self-level to minimize brushstrokes, come in dozens of colors, and become more durable after oven curing.
Most enamel paints are top-rack dishwasher-safe after curing. However, hand washing is strongly recommended to preserve the design longer.
Dedicated Glass Paint
Products sold as glass paint produce a translucent, stained-glass-style finish. Light passes through the design.
They work beautifully on display pieces but tend to be more delicate than enamel. Glass paint is best suited for decorative use rather than everyday drinkware.
Paint Pens
Paint pens loaded with enamel or multi-surface formula are ideal for lettering, monograms, and fine detail where brush control is harder to manage. Posca and Molotow are well-regarded brands. Always check that the pen works on non-porous surfaces before you buy.
What To Avoid
- Regular craft acrylics without enamel medium will not bond to glass and will peel quickly after washing.
- Oil-based paints need solvents for cleanup and are not suited to glassware projects.
- Chalk paint does not adhere without a sealant and is not food-safe on drinkware.
- 2,200+ verified reviews
- 30-day guarantee
- Free shipping over $65
Make the Glass Part of the Design
The Aequilibrium adds a distinctive pivoting base and hand-blown crystal to your table.
Explore AequilibriumEasy Wine Glass Painting Ideas for Beginners
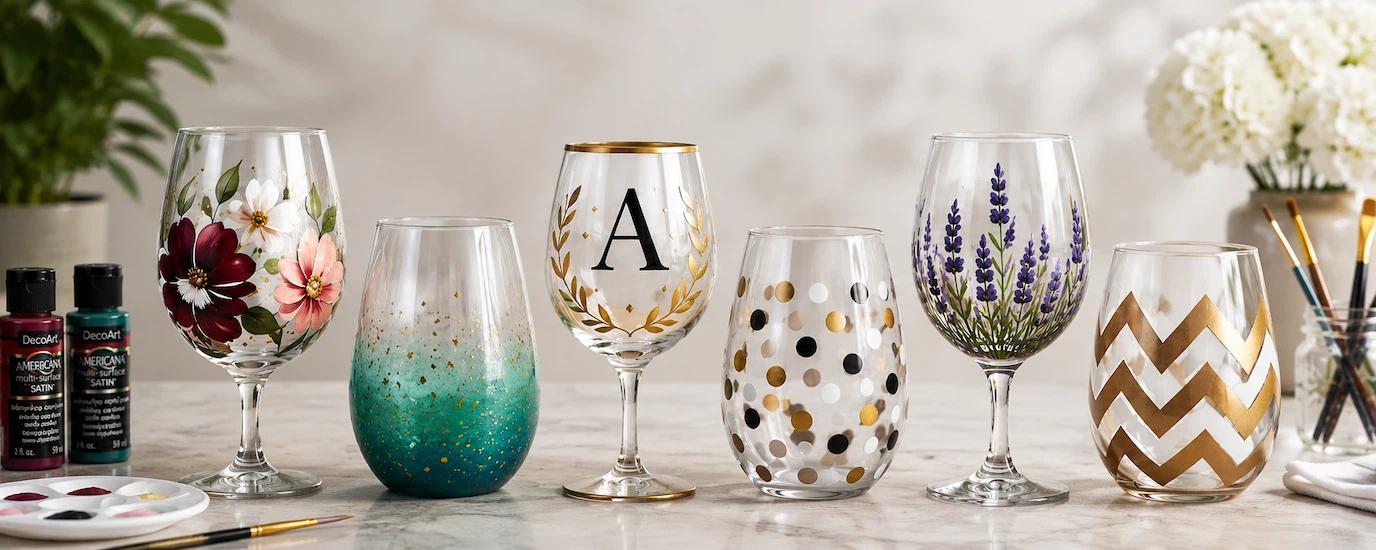
These six designs work on any glass and do not require prior painting experience. Start with whichever one fits your style.
Polka Dots
Polka dots are the most approachable design in glass painting. Load the eraser end of a pencil or a wooden dowel with paint and press onto the glass in clusters or repeating patterns.
Vary dot sizes for a more dynamic look. Let each dot set briefly before placing dots nearby to avoid smearing.
Florals and Vines
Start with leaves, making a single side-stroke with a round brush. Add petals radiating from a center point. Connect elements with a thin vine line using a liner brush.
Florals are forgiving because imperfect shapes often look organic and natural.
Ombré and Color Fades
Apply the darker color to the base of the glass. While still wet, dry-brush the lighter color upward and blend where the two meet. Work quickly.
This effect looks far more sophisticated than the effort it requires. Most beginners are successful on the first try.
Monograms and Lettering
Place a printed letter or word face-in against the inside of the glass bowl. Trace the outline from the outside with a paint pen or fine liner brush.
Remove the template, fill in the letterform, and add a simple frame. A dotted border, a laurel, or a thin painted band can complete the design.
Geometric Patterns
Use painter's tape to create stripes, chevrons, or grids. Apply paint over the tape and let it tack slightly. Remove the tape while the paint is still a little wet for the sharpest edge.
This technique delivers a modern, graphic result that requires no freehand drawing skill.
Seasonal Icons
Small stencils (snowflakes, hearts, leaves, stars) cluster well on a glass bowl. Apply paint through the stencil with a sponge dauber or stippling brush.
Peel the stencil carefully while paint is still slightly tacky. Outline with a metallic paint pen to add definition and make the design stand out.
How To Cure and Care for Painted Wine Glasses
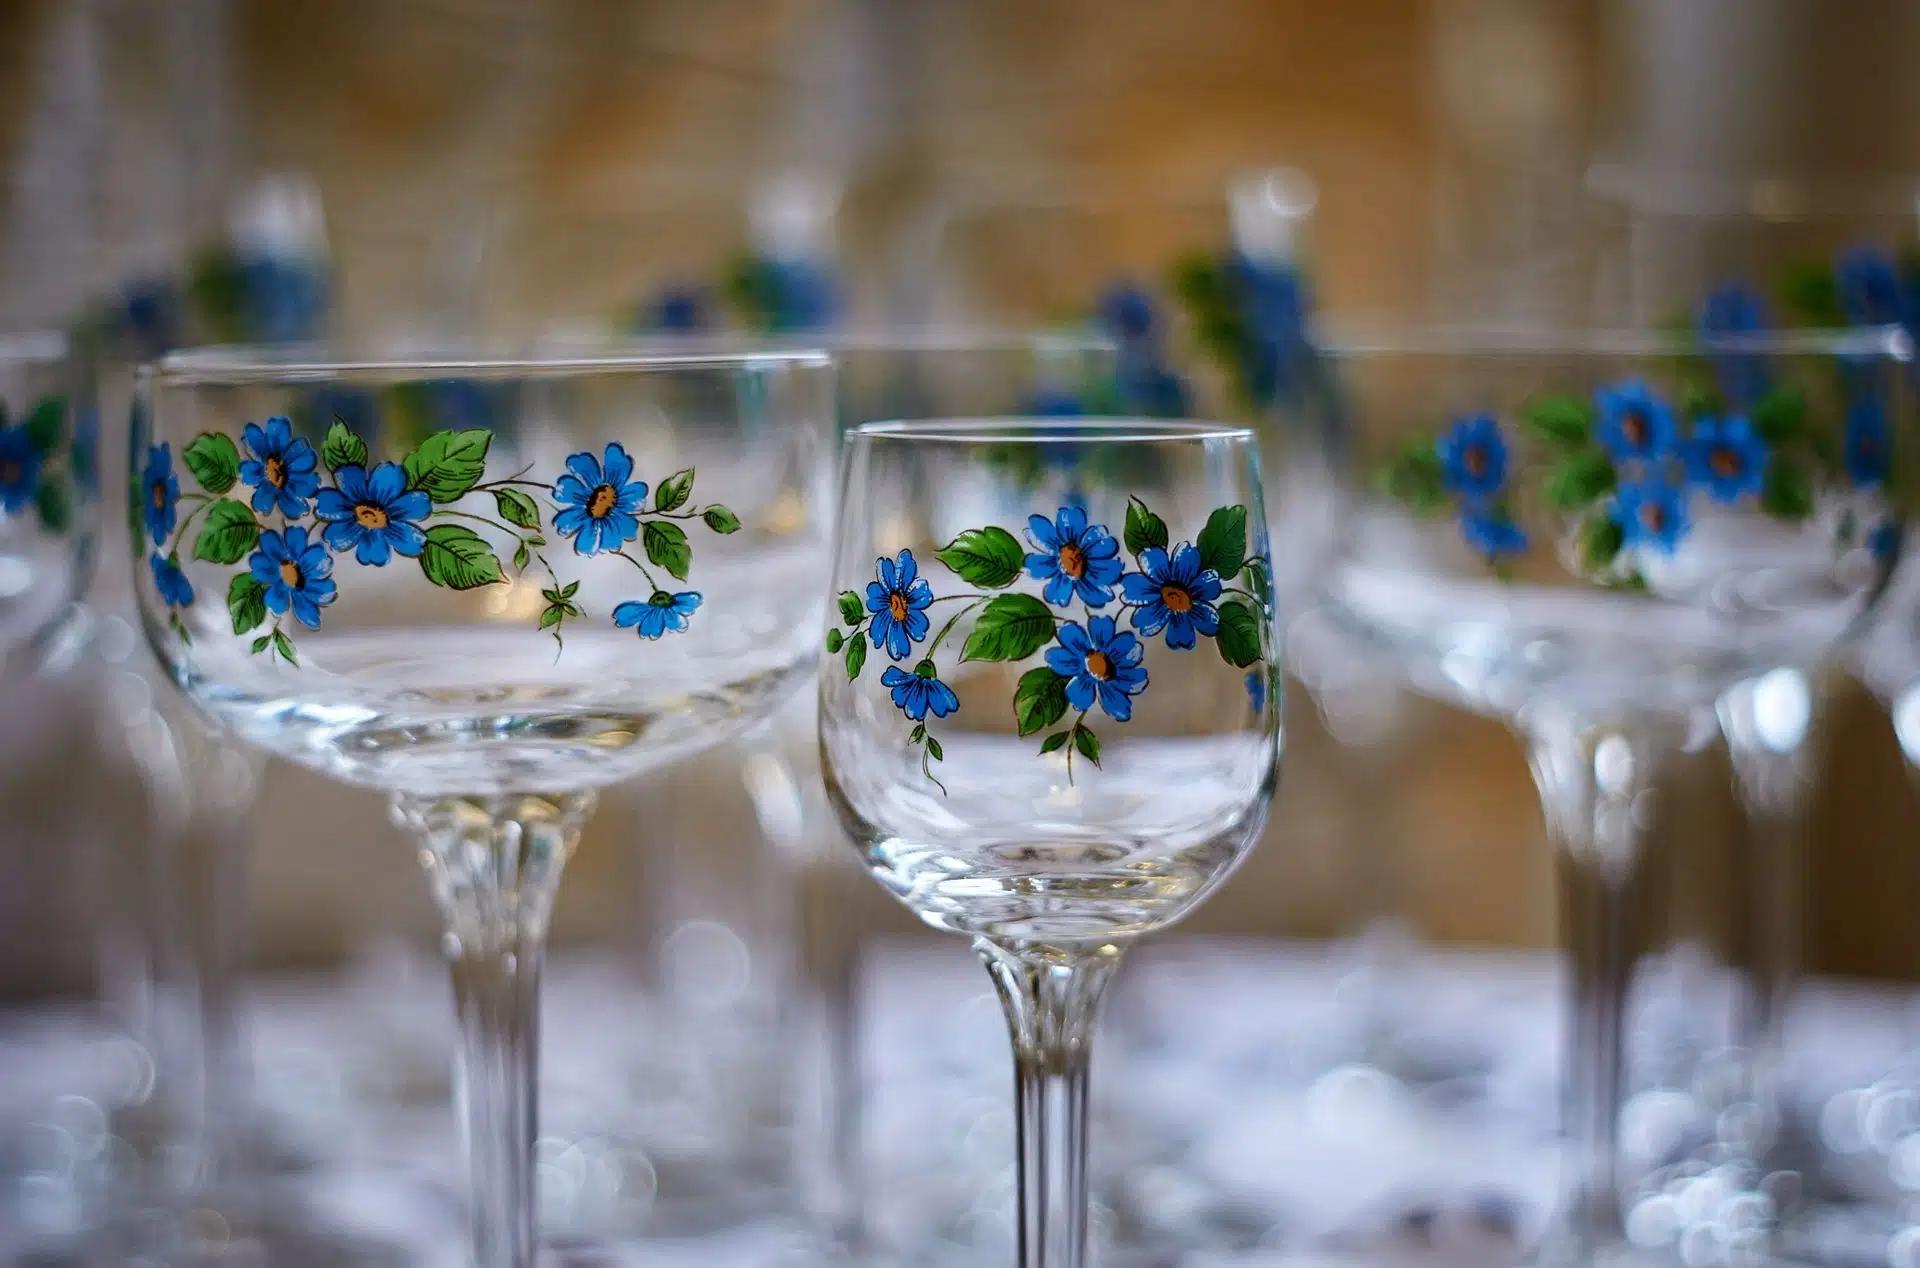
Curing locks the paint to the glass surface. It makes a design last instead of chipping after the first wash.
Air Curing
The simplest method: leave painted glasses untouched for 21 days before use. No oven required. The trade-off, however, is time.
Air-cured glasses are also the safer option if you are unsure whether your glassware handles oven heat.
Oven Curing
Place painted glasses in a cold oven. Set the temperature to 325–350°F (163–177°C). Bake for 30 minutes. Turn the oven off and let the glasses cool inside with the door cracked open.
Never place a cold glass into a preheated oven. Thermal shock can crack even sturdy glassware.
Check Your Paint Label
Most enamel paints specify 275–350°F as their curing temperature. Follow the manufacturer's recommendation.
Higher temperatures on thin-walled or fine crystal glass can cause stress fractures. When in doubt, air cure.
Washing and Storage
Hand-wash painted wine glasses in lukewarm water with mild soap and a soft sponge. Avoid scrubbing directly over the design. Even after oven curing, repeated high-heat dishwasher cycles shorten the life of the paint.
Store glasses individually or place soft tissue between them to prevent chips and scratches to the painted surface.
Final Thoughts: Paint, Cure, Then Enjoy
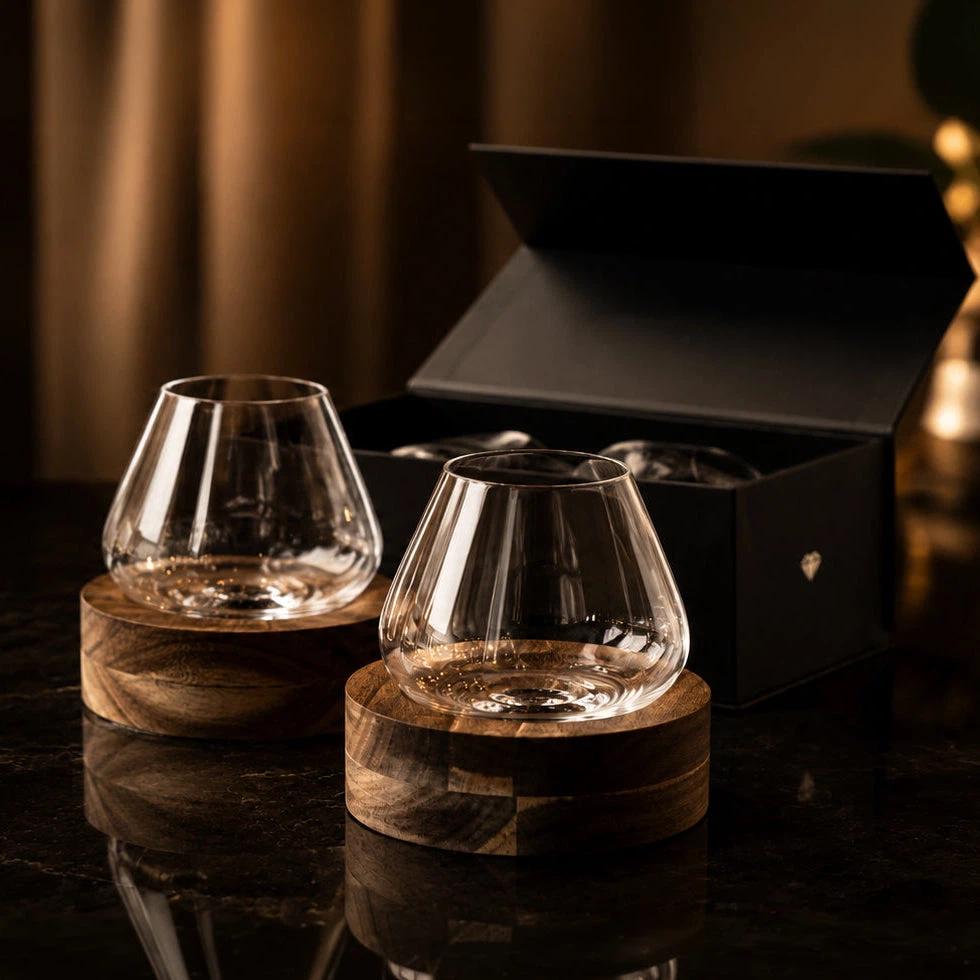
Painting wine glasses is a simple way to turn everyday drinkware into something personal. With the right paint, careful preparation, and patience during the curing process, even beginners can create designs that look polished and last.
The glass you choose matters. Starting with a well-made glass gives your project a better canvas. And when the paint has cured, you still have a piece of drinkware worth reaching for.
If you want to take that idea a step further, the Aequilibrium Glass Collection pairs hand-blown, 100% lead-free crystal with a unique 360° pivoting base.
Whether you paint your own design or leave the crystal to speak for itself, the goal is the same. That is, to make every pour a little more personal.
Frequently Asked Questions
Can you use regular acrylic paint on wine glasses?
Standard acrylic paint does not bond well to glass and will peel quickly, especially after washing. For glass painting wine glasses, use acrylic enamel or dedicated glass paint. Both formulas work on non-porous surfaces. If you only have regular acrylics, mix in an enamel medium to improve adhesion before applying.
Do painted wine glasses need sealing?
With acrylic enamel and proper oven curing, you do not need a separate sealant. The oven heat locks the paint to the glass. If you use standard acrylic without curing, a sealant will help. However, it does not fully replicate the adhesion you get from enamel paint properly cured.
Are painted wine glasses safe to drink from?
Yes, provided you follow two rules: keep paint at least half an inch below the drinking rim, and use non-toxic, food-safe paint. Most acrylic enamel paints are non-toxic once fully cured. Check the label to confirm, and always paint the outside of the glass.
Can you put painted wine glasses in the dishwasher?
Oven-cured acrylic enamel is technically top-rack dishwasher-safe, but hand washing is strongly recommended. Repeated high-heat dishwasher cycles will eventually wear down even a well-cured design. Gentle hand washing in lukewarm water keeps painted glasses looking their best for much longer.
What is the best wine glass to paint on?
A smooth, clear glass with even wall thickness takes paint the most cleanly and evenly. Stemless glasses are more stable on the table while you work. Stemmed glasses give you better grip and rotation. In both cases, a well-made glass with a consistent surface produces sharper results than cheap or uneven glassware.
How long does glass paint take to dry between coats?
Allow at least 20 to 30 minutes between coats for acrylic enamel at room temperature. Thinner coats dry faster. Make sure the layer underneath is fully dry before you add the next. Rushing causes the first coat to lift and creates a gloppy, uneven texture.
Can you paint the inside of a wine glass?
Painting the inside of a wine glass is not recommended. Paint on the interior would come into direct contact with the beverage and your lips, raising food safety concerns even with non-toxic paint. Stick to the outside of the bowl, and keep all paint well below the rim line.
How do you remove paint from a wine glass?
Fresh, uncured paint lifts easily with rubbing alcohol on a cotton swab. Dried but uncured paint also responds to rubbing alcohol with a bit more effort. Once oven-cured, paint is much harder to remove — acetone or nail polish remover will lift it, but may require repeated application and light scrubbing with a soft cloth.
Shop the Aequilibrium Glass Collection
-
Red WineRegular price From $42.99 USDRegular priceUnit price per
$86.00 USDSale price From $42.99 USDSale -
Spirits & LiquorsRegular price From $39.99 USDRegular priceUnit price per
$80.00 USDSale price From $39.99 USDSale -
UniversalRegular price From $42.99 USDRegular priceUnit price per
$86.00 USDSale price From $42.99 USDSale -
Spirits & Red WineRegular price From $110.00 USDRegular priceUnit price per