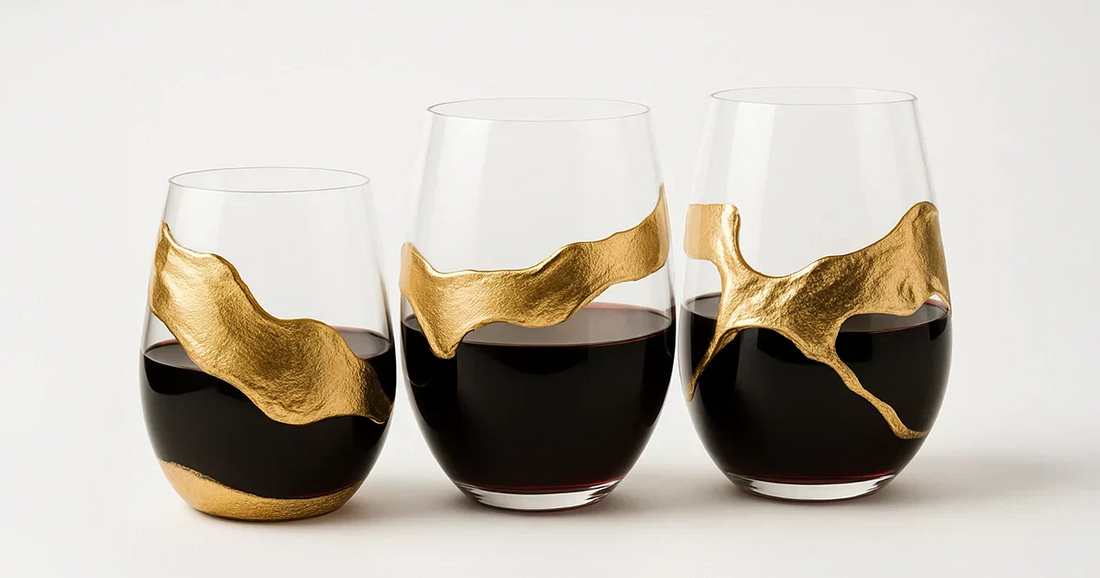
How to Paint Wine Glasses Guide (Even If You’ve Never Done It Before)
Painted wine glasses? Why not. Whether you want to elevate your dinner table, give a memorable gift, or just try something fun and creative, painting your own wine glasses is surprisingly simple — and incredibly satisfying.
This guide is for beginners. No fine arts degree needed. We’ll walk you through it! Choosing the right materials, prepping your glass, easy painting techniques, and how to make your designs survive for more than one dinner party.
What You’ll Need
The right tools make all the difference — not just in how your glasses look, but how long your design actually lasts.
Paint That Sticks
Regular acrylic paint? Not great here. It peels off glass like old stickers. You’ll want glass-specific acrylic paint — look for brands that say “glass” or “ceramic” right on the label. Martha Stewart, FolkArt, and DecoArt all make solid options.
Want something easier? Try glass paint pens. They're perfect for beginners or anyone who wants to draw words, borders, or tiny details without messing with brushes.
Other Options
Oil-based enamels? Super durable, but trickier to work with. Sharpies? Fine for casual stuff, but don’t expect them to last forever unless they’re oven-safe.
Brushes
Grab a few:
- A thin brush for details
- A flat brush for big areas
- A sponge if you want cool textures or ombre effects
Other Supplies
- Clear, smooth wine glasses (no textured ones, they’re annoying to paint)
- Rubbing alcohol (to clean the glass)
- Palette (a paper plate works too)
- Cup of water
- Optional: Stencils or printed designs you can tape inside the glass to trace
Step 1: Prep Your Glass Like a Pro
Here’s the secret: paint only sticks to clean glass. Even if they look clean, invisible oils from your fingers can ruin the whole thing.
Wash your glasses with warm, soapy water. Rinse them well and dry completely. Then wipe them down with rubbing alcohol — this strips off any leftover oils.
Bonus tip: Right before painting, give them one more quick swipe with alcohol. It helps, trust me.
Step 2: Set Up Your Space
Cover your table with an old towel or newspaper. You’ll want good lighting — natural daylight is best — and a surface that won’t make you cry if paint spills.
Step 3: Time to Paint!
Start simple. Think stripes, dots, a word like “cheers,” or even a basic floral pattern. If you mess up? Just wipe it off with a damp cloth before it dries.
Thin Layers Win
Don’t glob on paint. Do thin, even coats. Let each layer dry completely before adding another. This gives you clean, vibrant color without streaks or lumps.
Using Stencils?
Tape them down and dab paint using a sponge or brush. Remove the stencil while the paint’s still a little wet to avoid peeling.
Dotting Tool Hack
Use the end of a pencil or bobby pin to make perfect dots. Easy and oddly satisfying.
Step 4: Make It Stick (Curing 101)
Paint drying ≠ paint curing.
Curing is what makes the design permanent — so it won’t wash off next week.
There are two main methods:
- Air cure: Just leave it alone for 3–5 days (check the paint label).
- Oven cure: Pop it in a cold oven, set it to 350°F (175°C), and bake for 30 minutes. Turn the oven off, leave the glass inside to cool completely.
Important: Only use oven-safe paint. And never preheat the oven with your glass inside — it could crack. Always make sure that your glass can withstand oven cure!
Step 5: Keep It Looking Good
- Handwash only (no matter what the paint label says)
- Avoid scrubbing or soaking in hot water
- Don’t paint the rim — it’s better for food safety
Bonus Tips & Creative Ideas
- Gradient or ombre looks: Use a sponge to lightly blend two colors. Dab, don’t drag.
- Frosted look: Dab white paint with a sponge for a snowy, translucent effect.
- Holiday themes: Snowflakes, hearts, pumpkins — whatever fits the season.
- Monograms: Classy, easy to do with a stencil and gold paint.
- Wine & paint night: Invite friends, sip wine, paint glasses. Memories included.
Common Mistakes (And How to Avoid Them)
- Paint peeling off? You probably didn’t clean the glass well enough.
- Streaks everywhere? Too much paint or not letting layers dry.
- Paint won’t show up? Some paints dry translucent. Add more layers or try a base coat.
To conclude
Custom wine glasses don’t just look good — they feel personal. Whether you’re giving them as gifts or setting them out at dinner, they’re guaranteed conversation starters. Plus, painting them is just plain fun.
Grab a glass, get creative, and don’t stress about being perfect. The best part? You get to toast with something you made yourself.
Coming Soon on the Audacem Magazine
We’re working on more gift guides, including:
- Wedding Gift Wine Ideas – What to Give for a Stylish Toast
- How Many Ounces in a Bottle of Wine? A Full Guide
- Good Red Wine for a Gift – How to Choose the Perfect Bottle
-
How to Taste Wine at Home: A Beginner’s Guide
- How to Taste Whisky at Home: A Beginner’s Guide
- Best Whisky Glass – What Experts Recommend in 2025
